
About
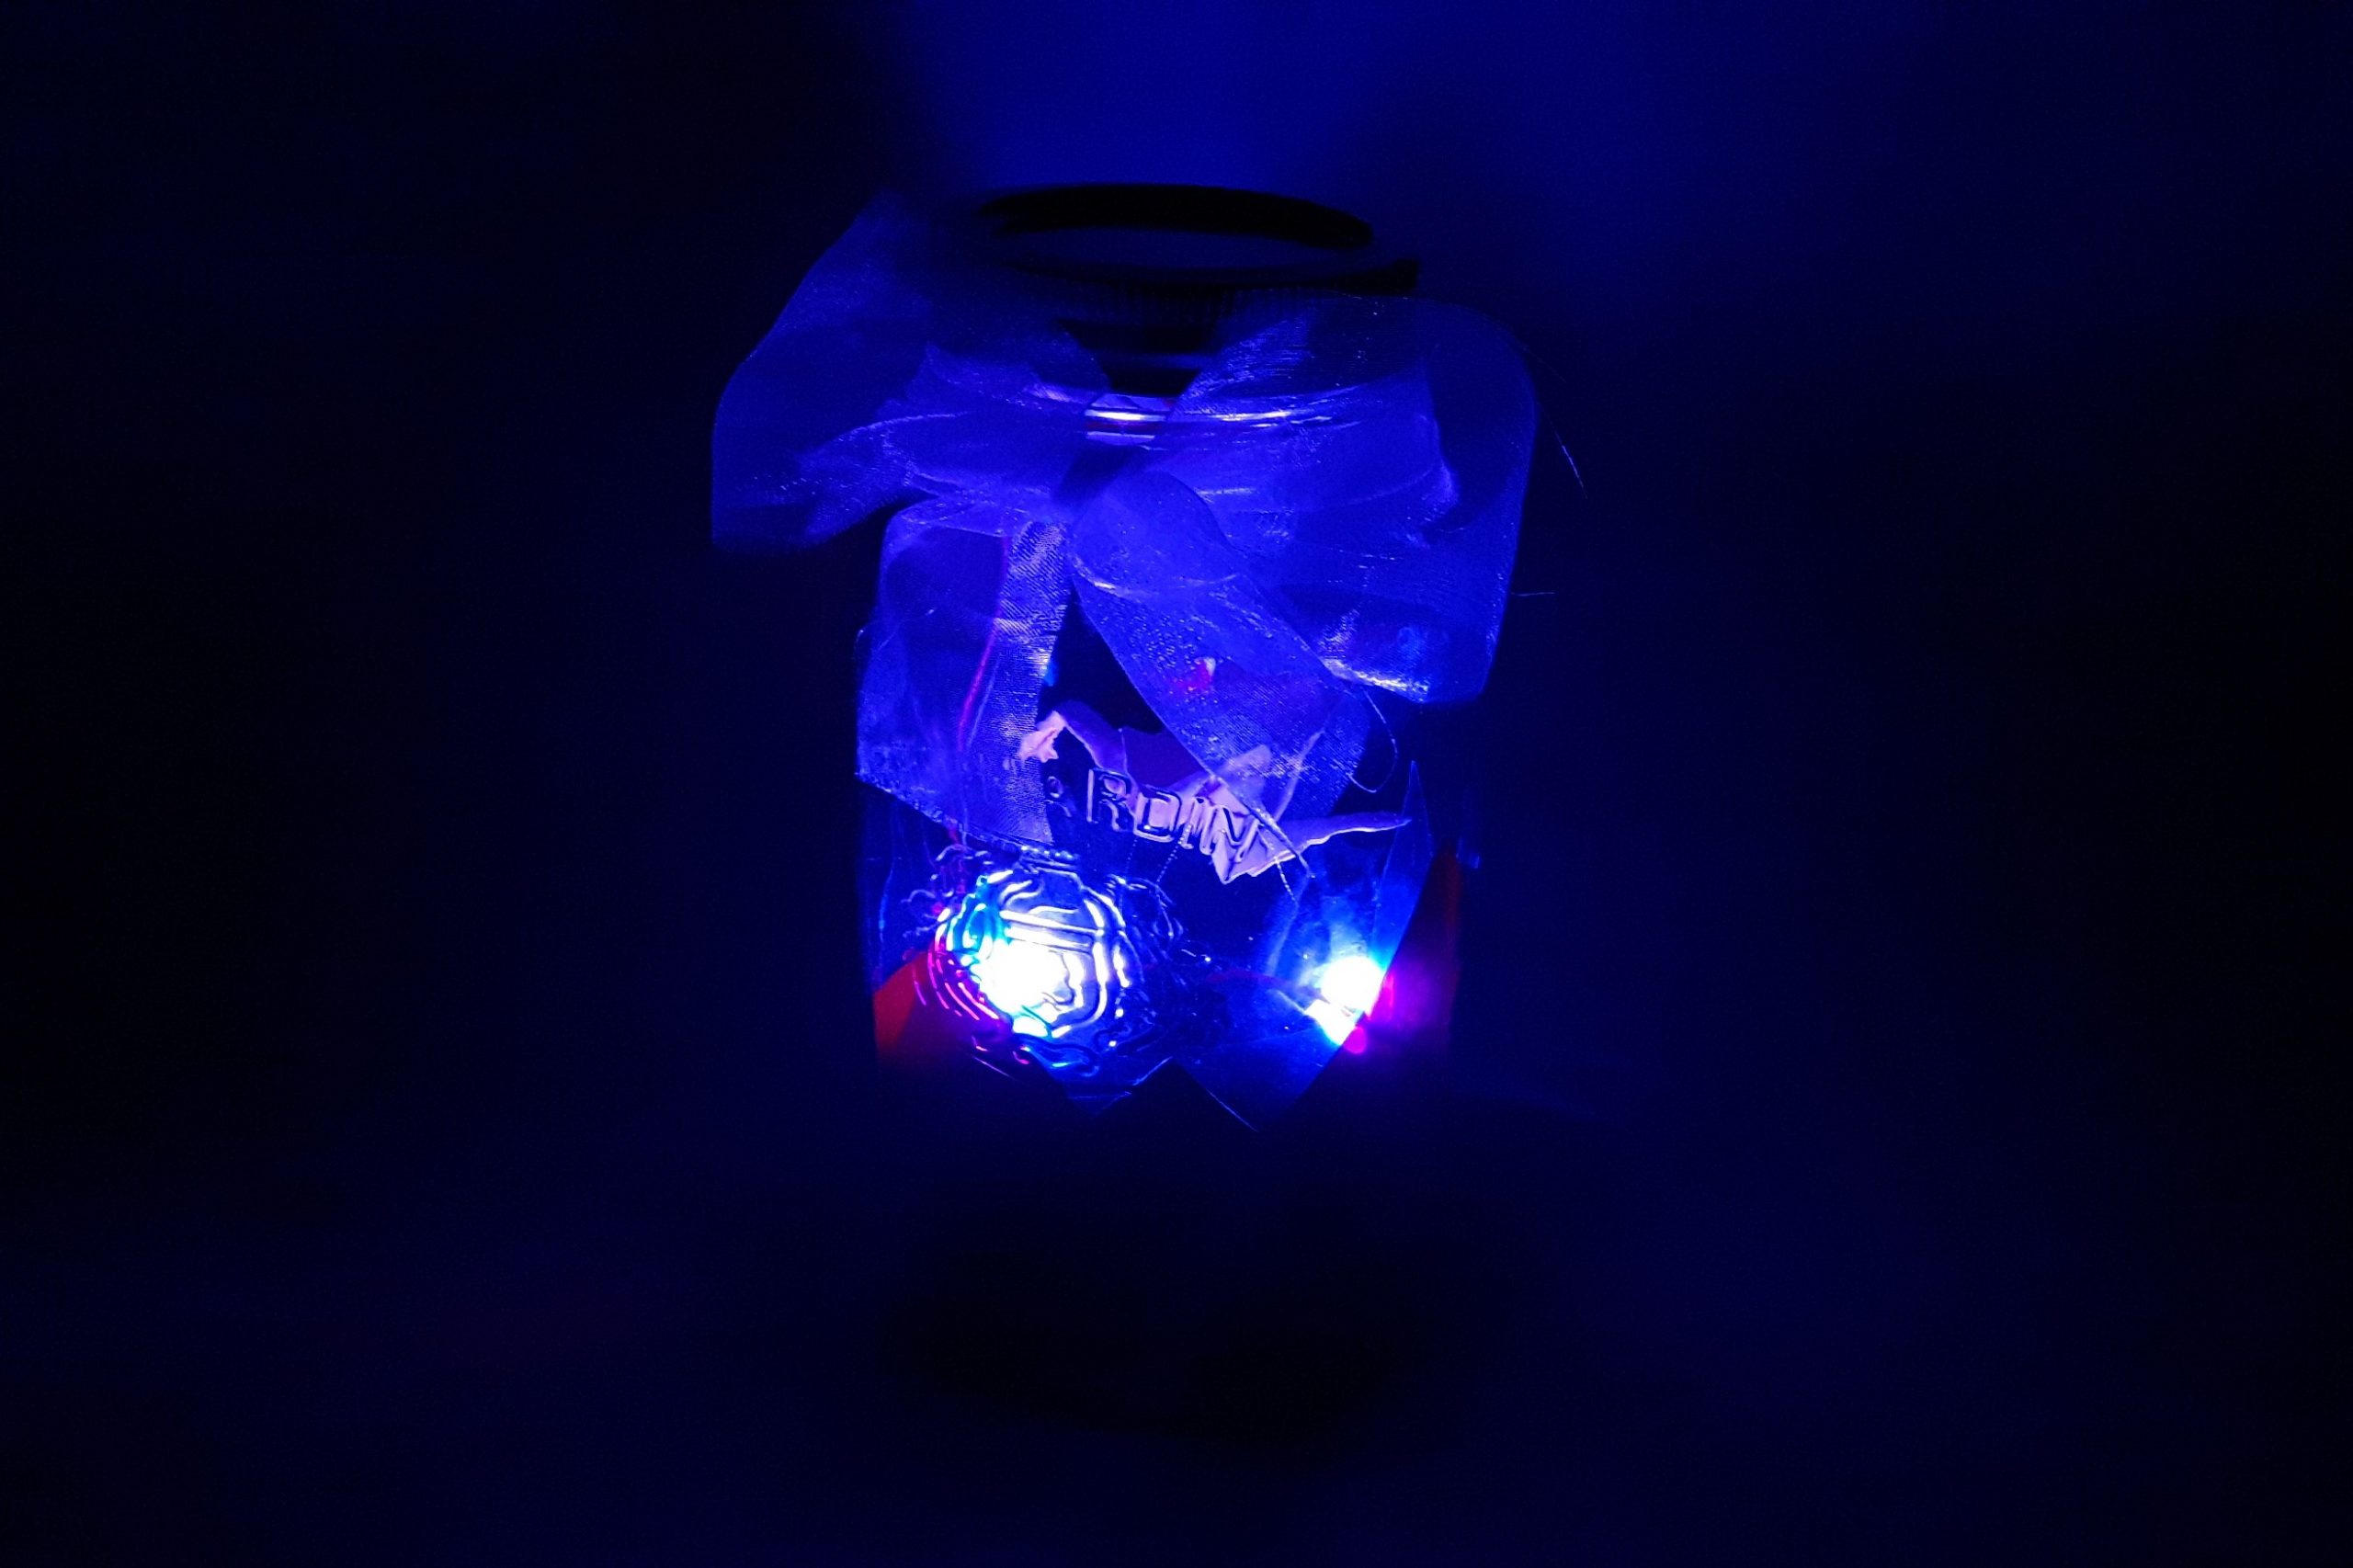
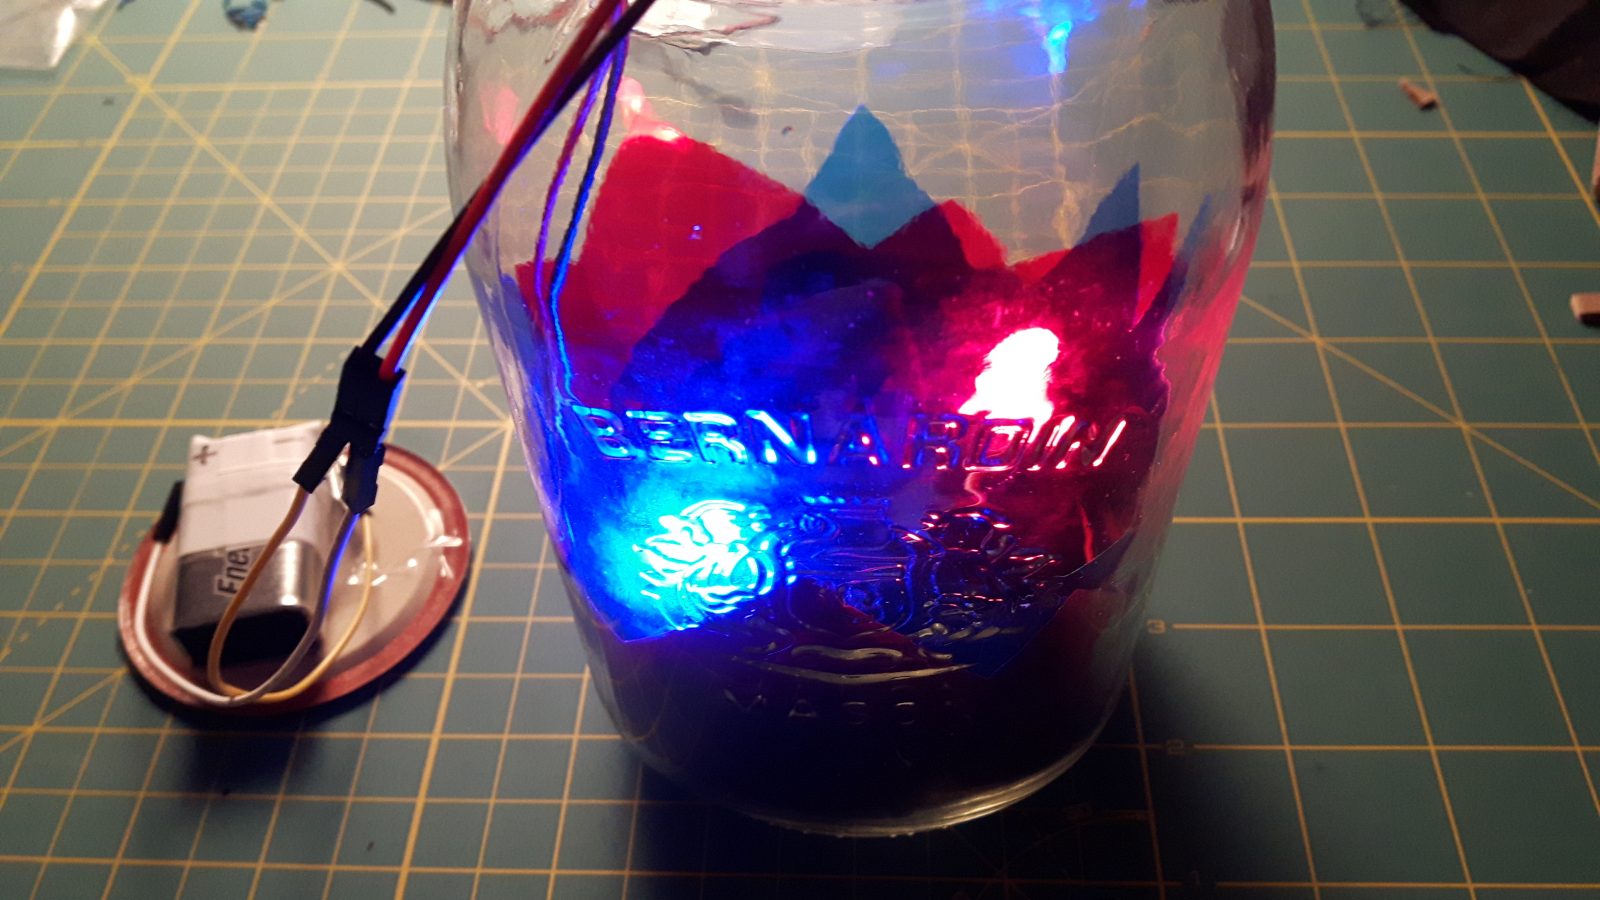
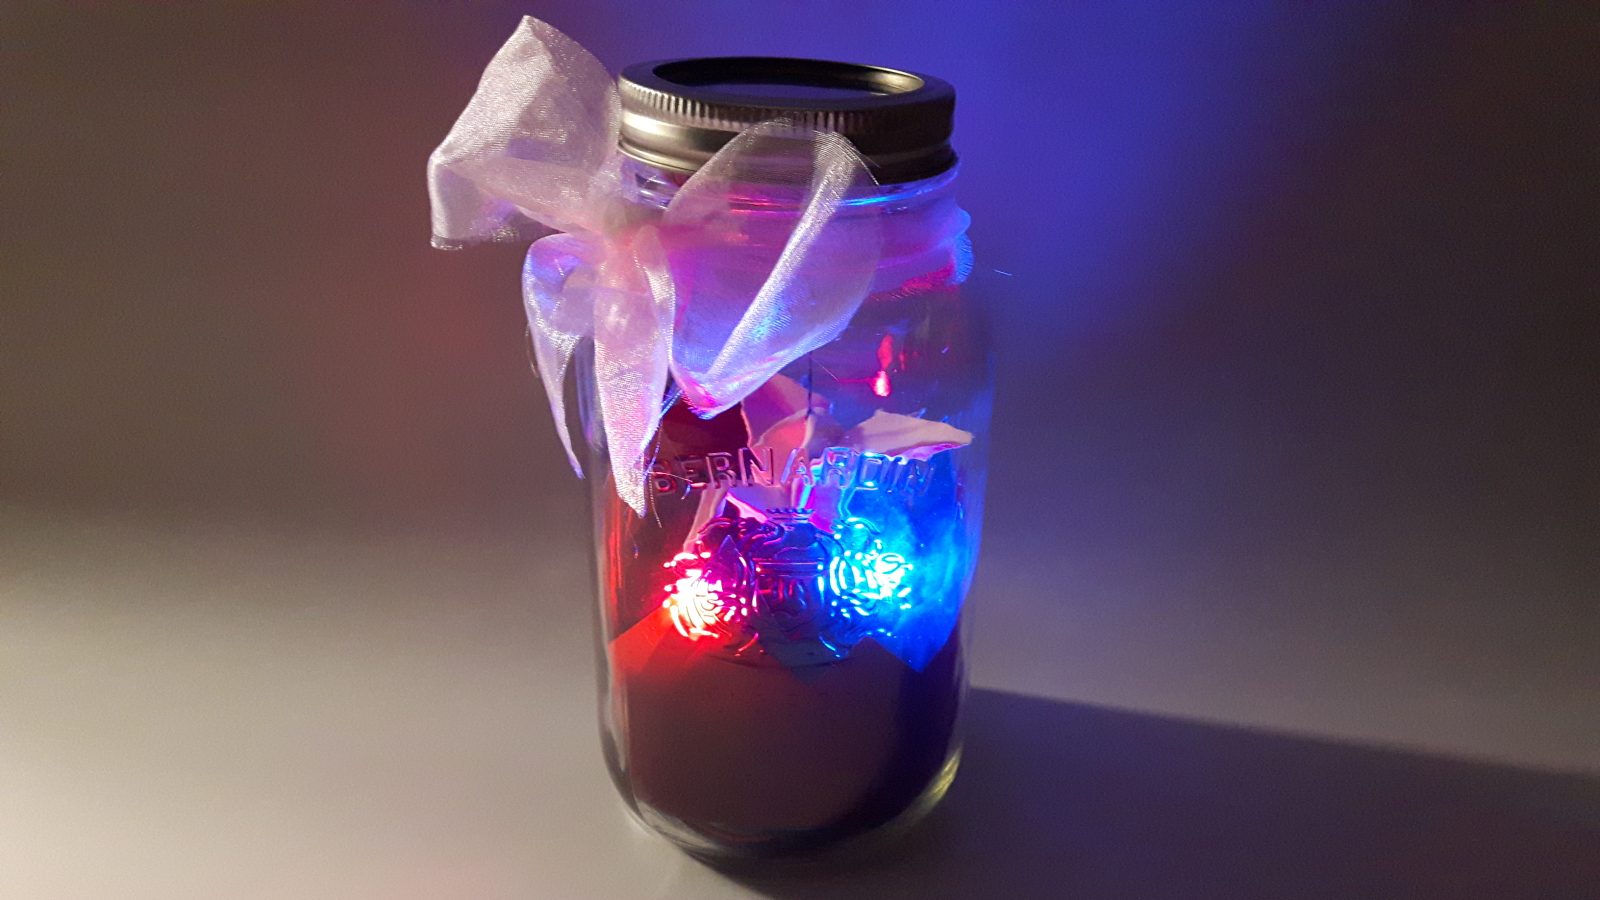
My goal was to prototype an interesting lamp that would animate a room with its changing lighting. I wanted to create a final piece that can be moved around on its own. The jar uses a 9-volt battery in the lid so that it can be easily unplugged and changed.
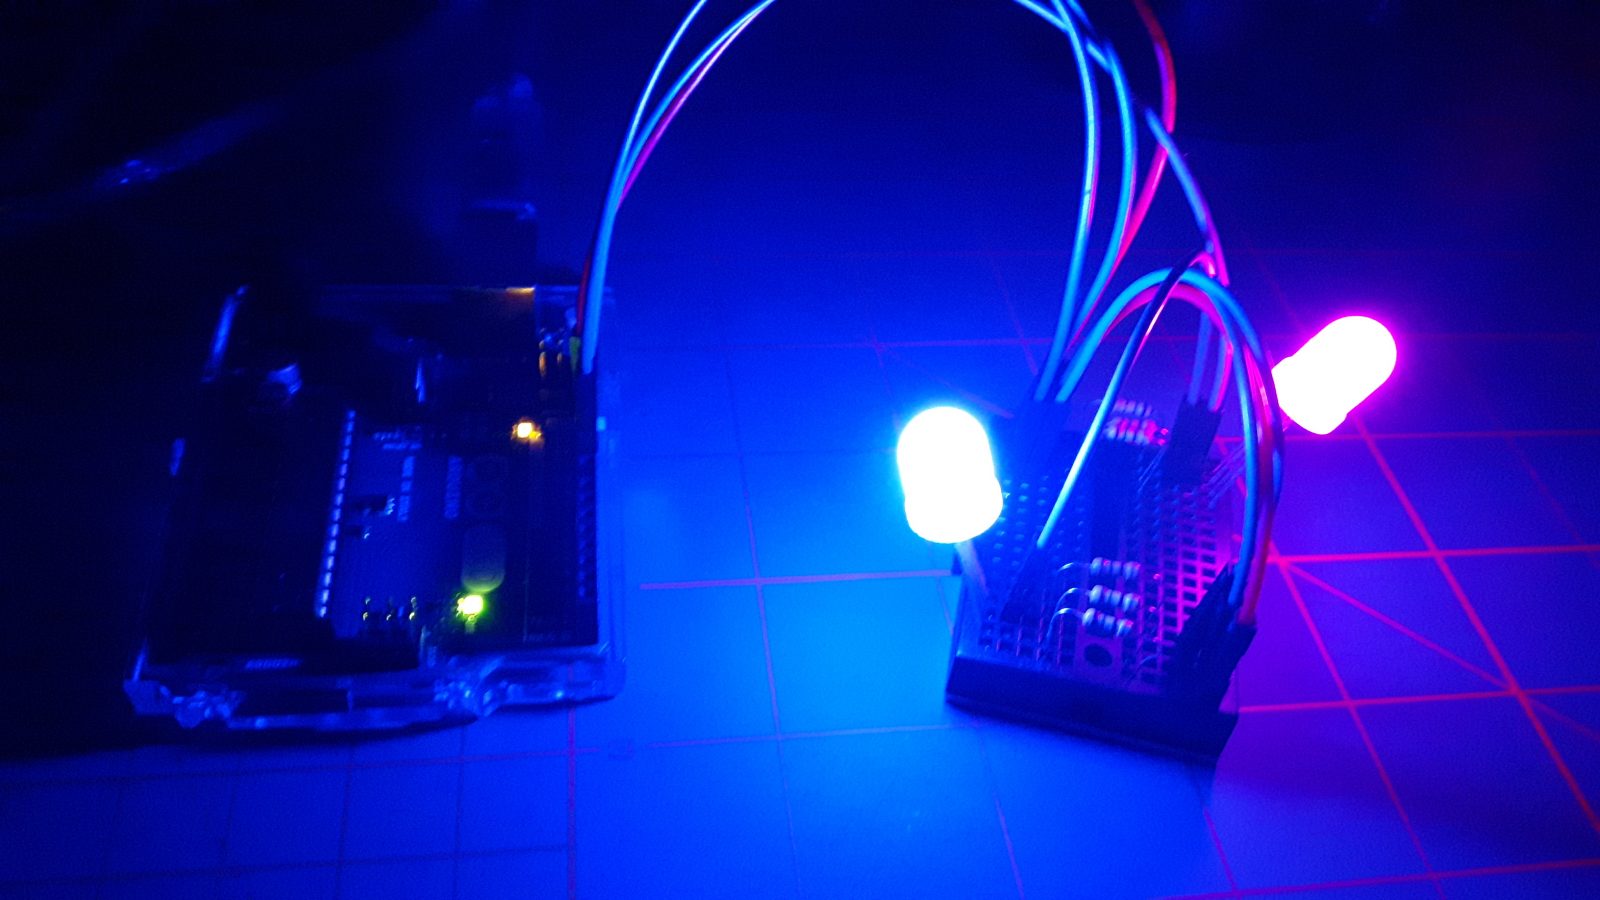
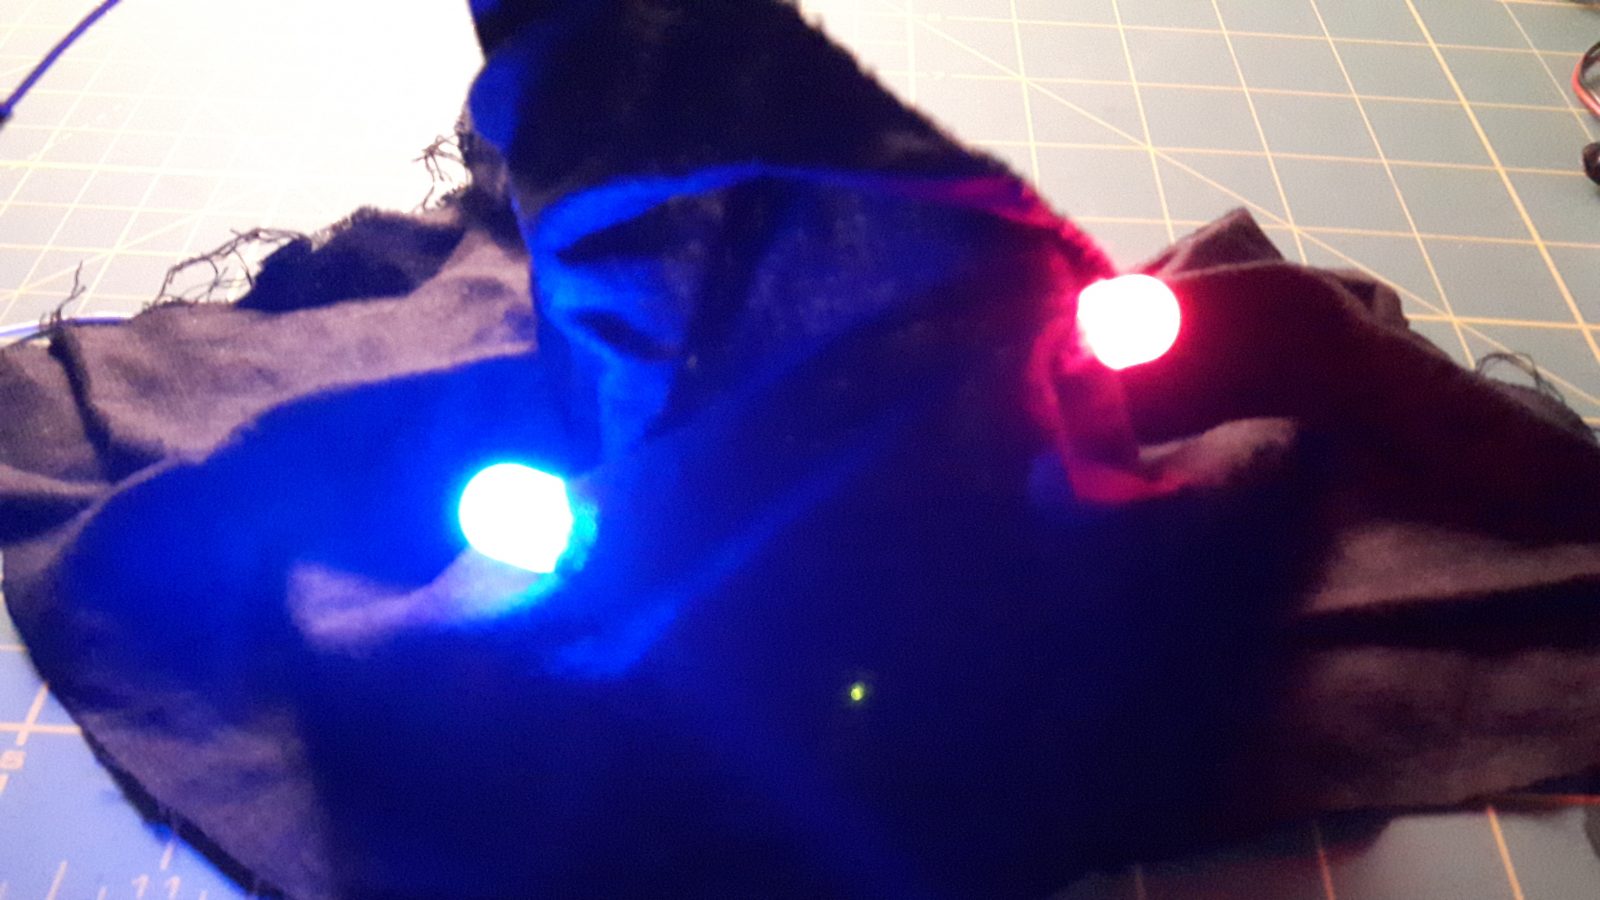
The aesthetic creates a sense of sentimentality and the piece is packaged as something you can interact with and give to a friend. In complete darkness, viewers can also interact with the double-shadow effect created by the two LEDs.
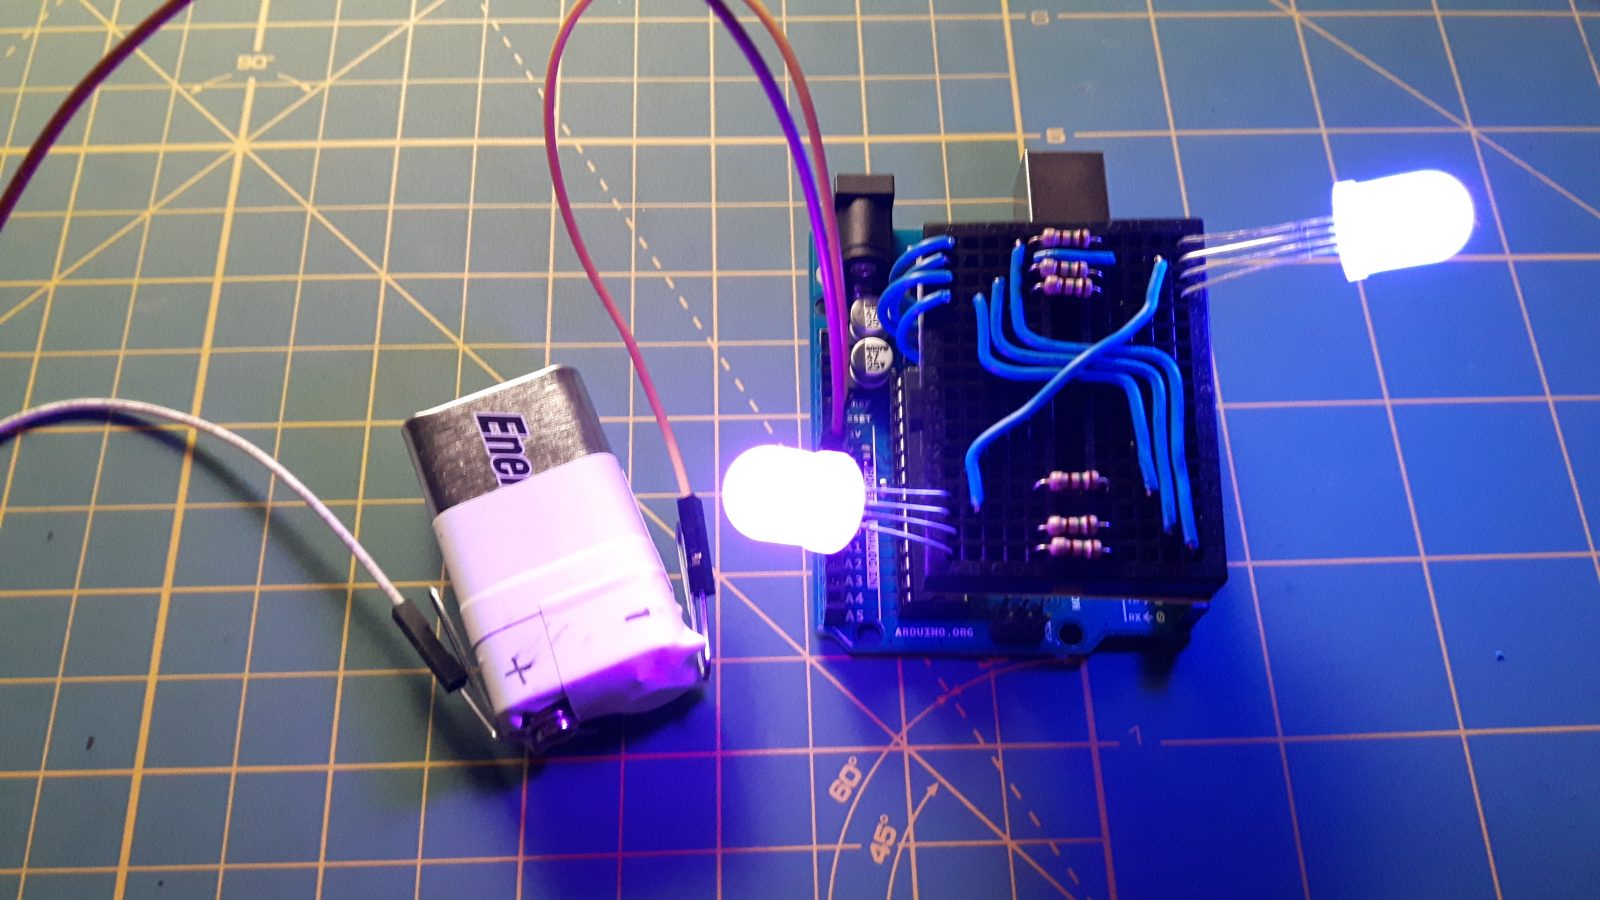
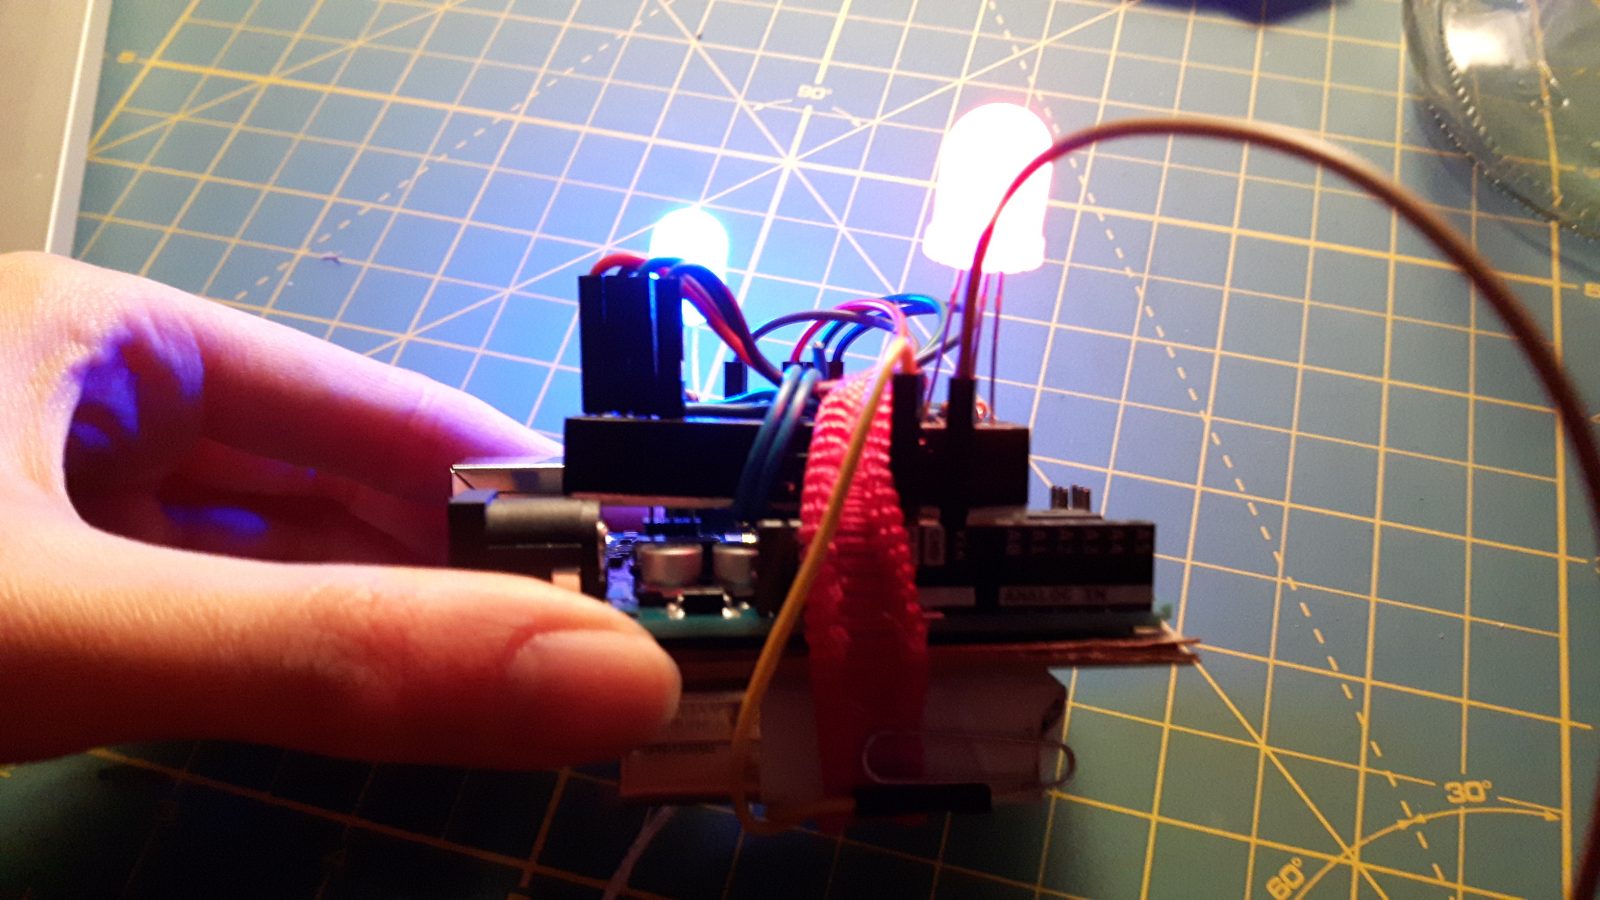
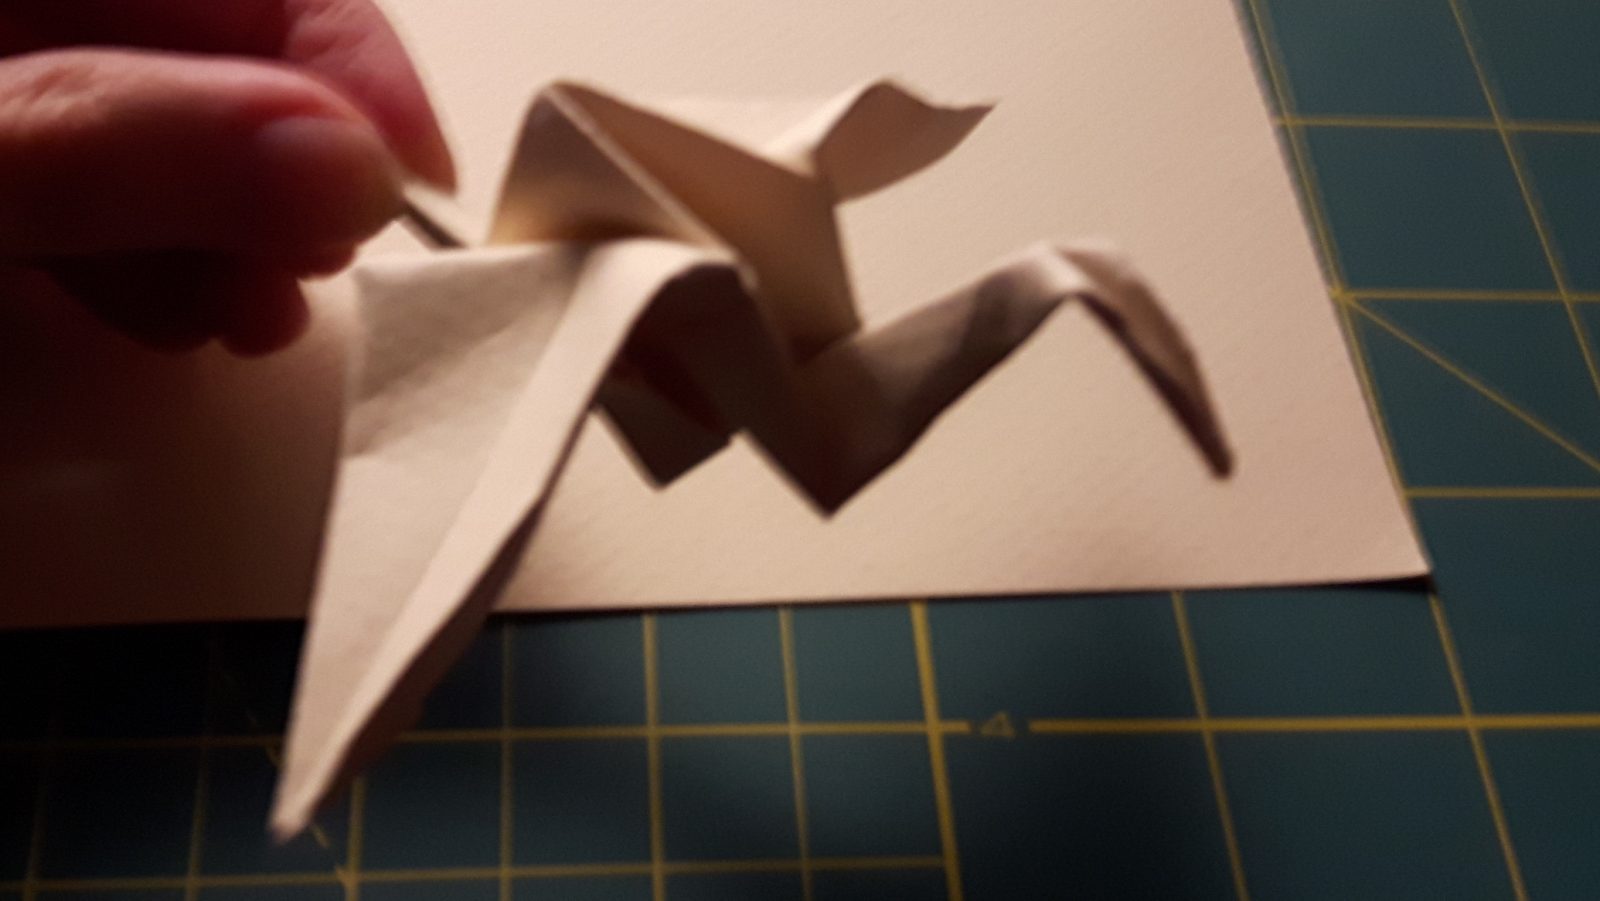
I explored the appearance of a cross-fading and mixing effect between red and blue light. In each RGB LED, the light transitions from red to blue, creating purple and magenta shades in-between. It’s interesting to view the effect through a variety of materials, such as the glass of the jar, the red and blue lighting gels, the polyester bow, and the origami crane. Each component provides a variety of light interaction.
Final Video of the Prototype
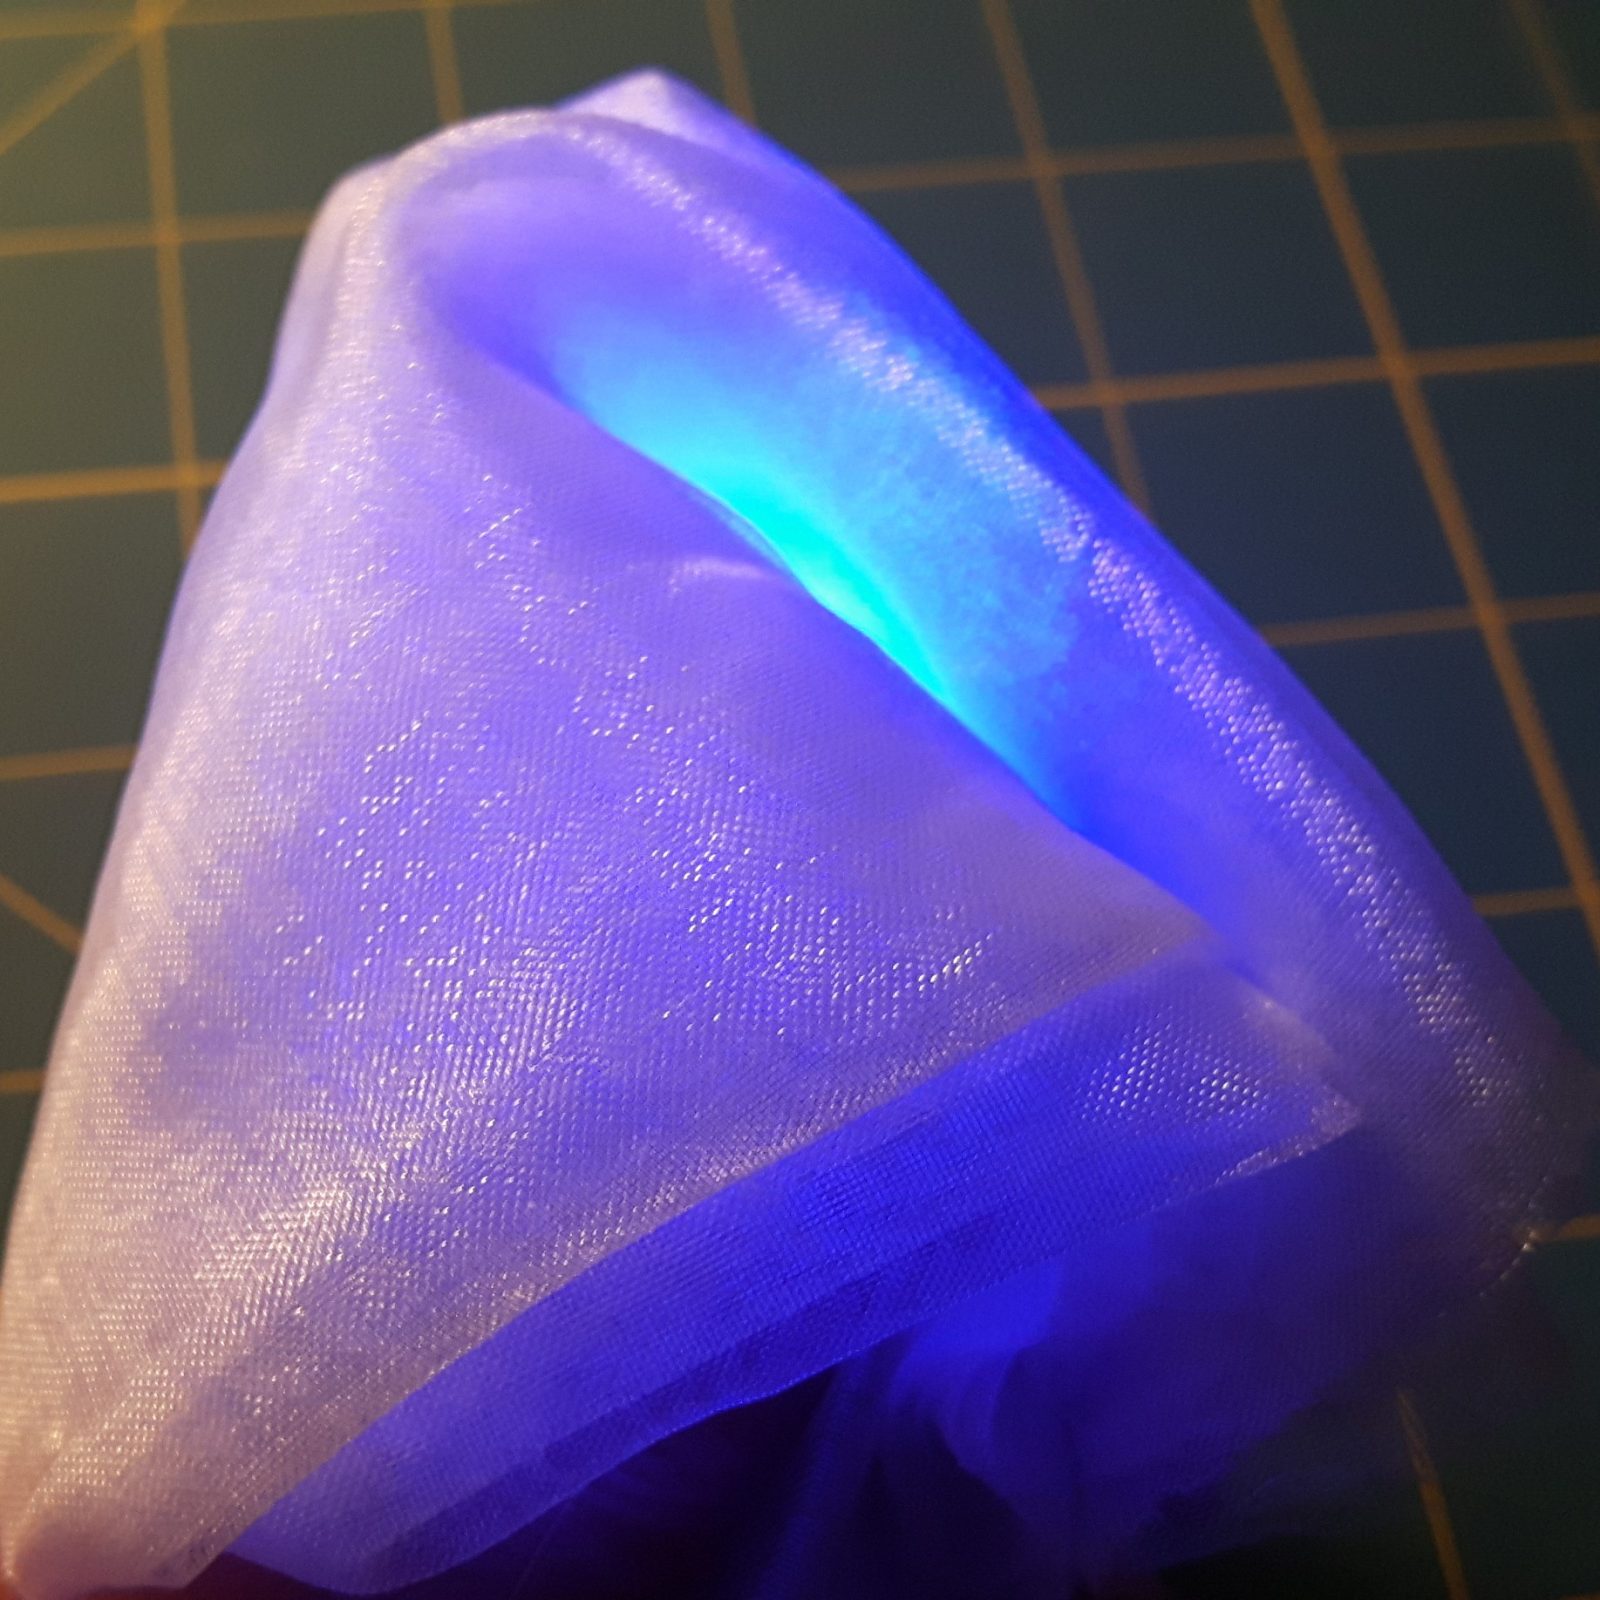
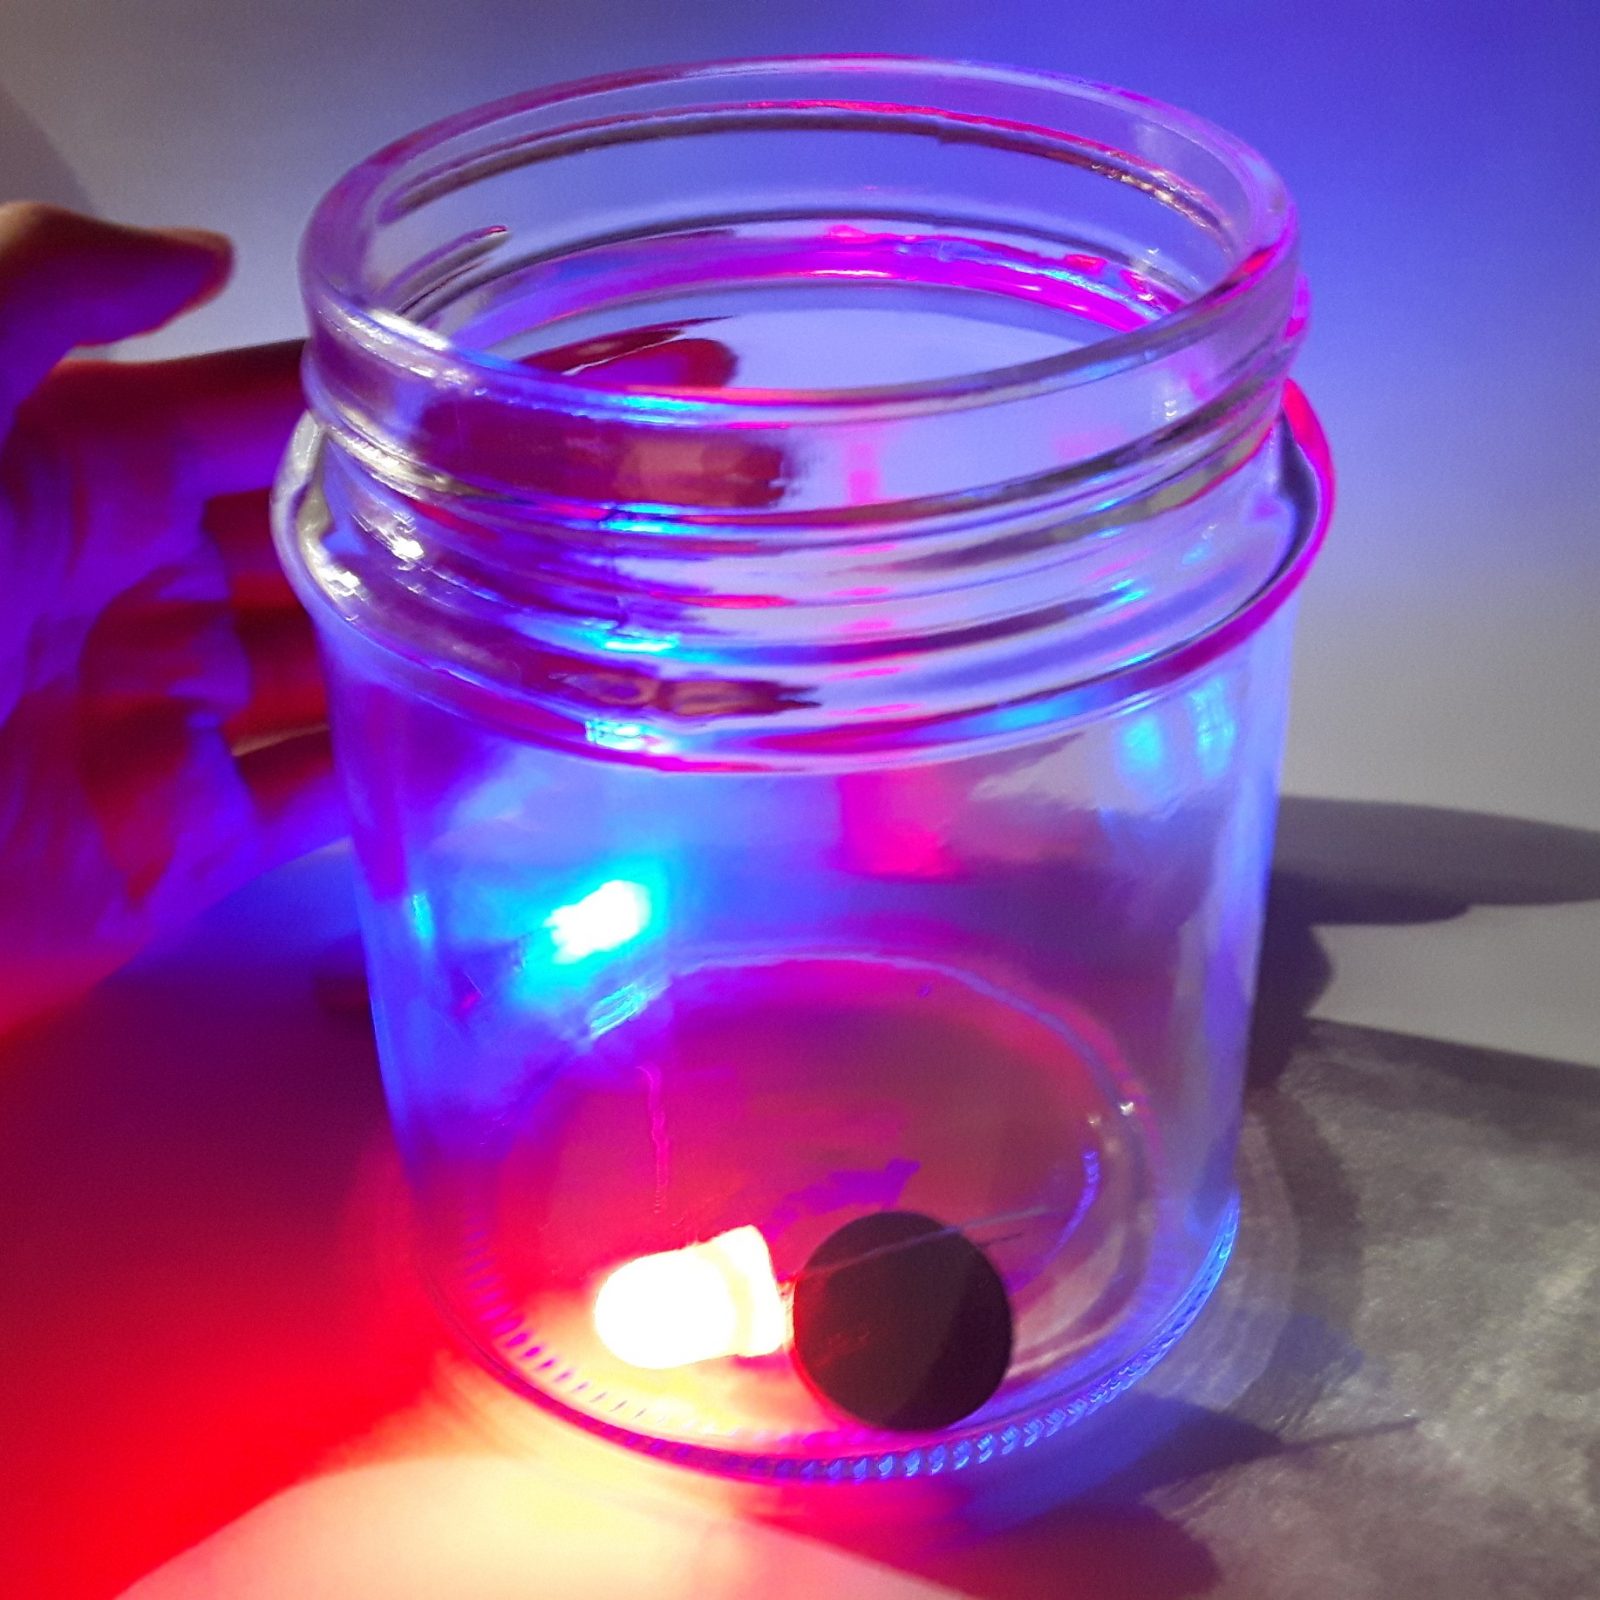
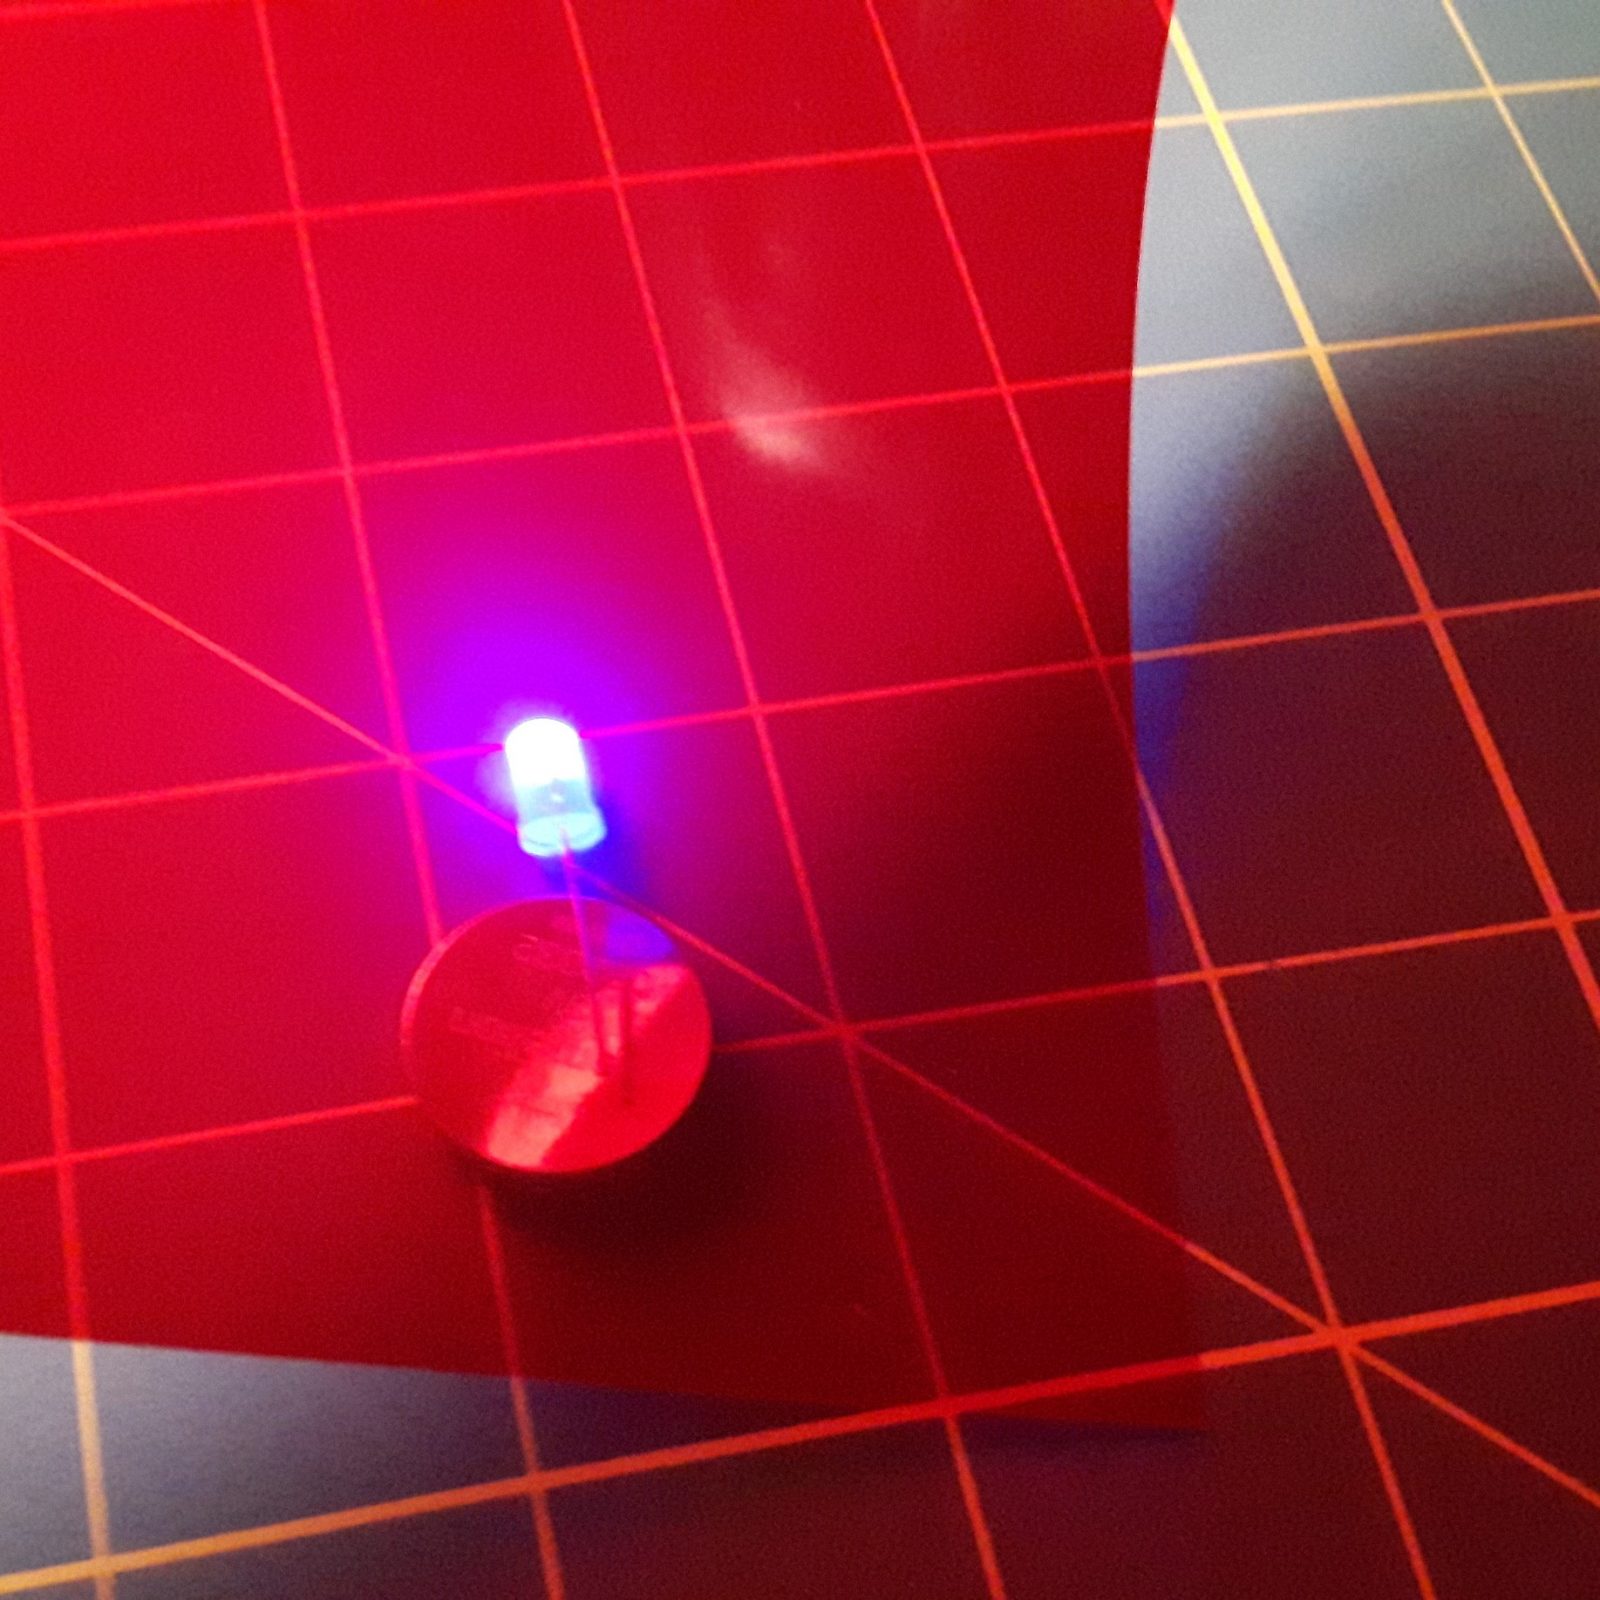
Material Explorations
I tested the effect created by shining red and blue LEDs through various materials:

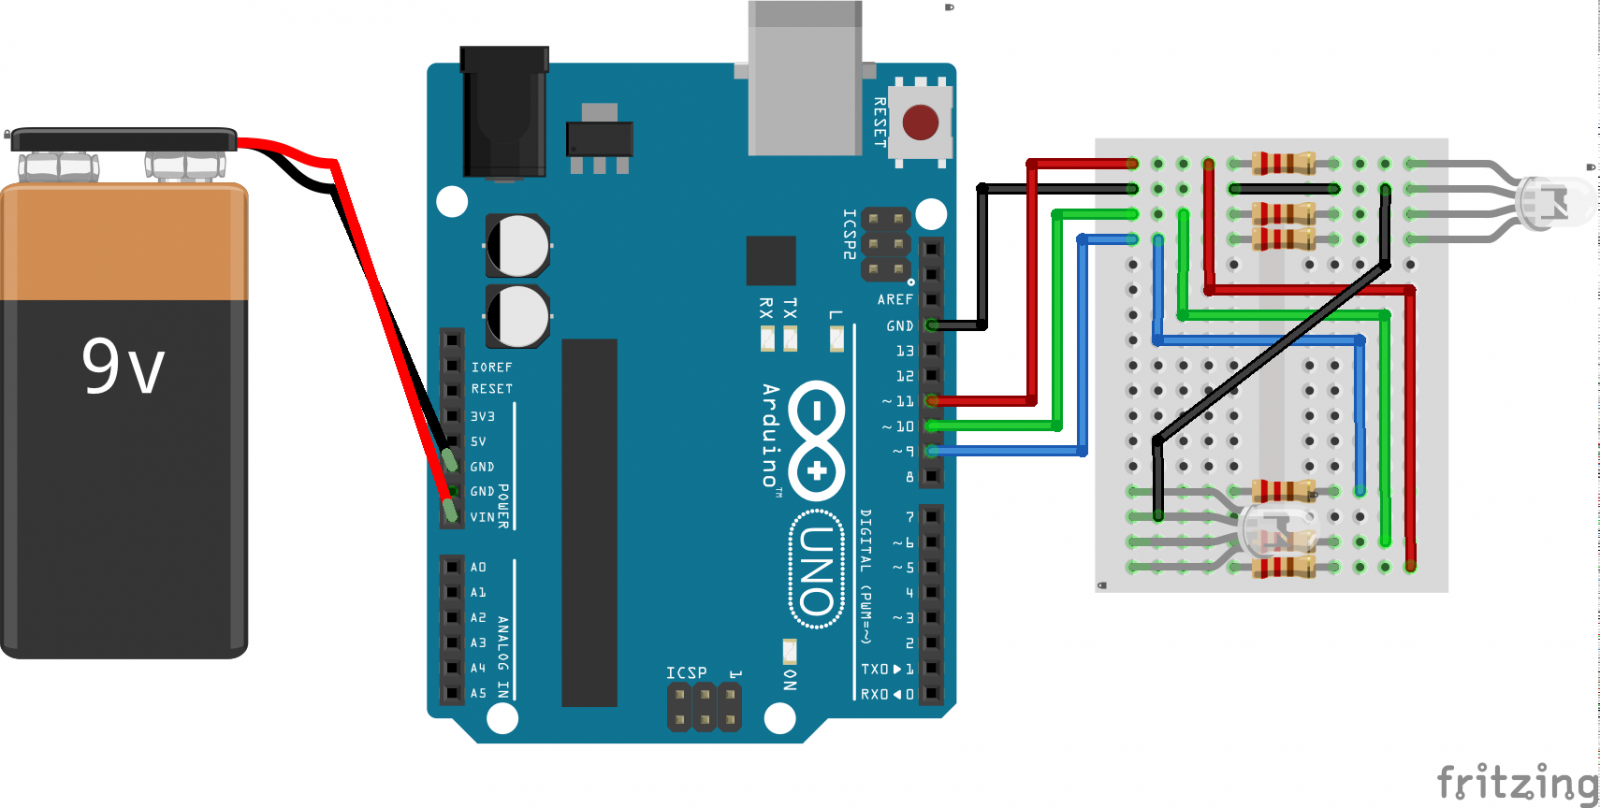
Circuit Diagram
Process Images
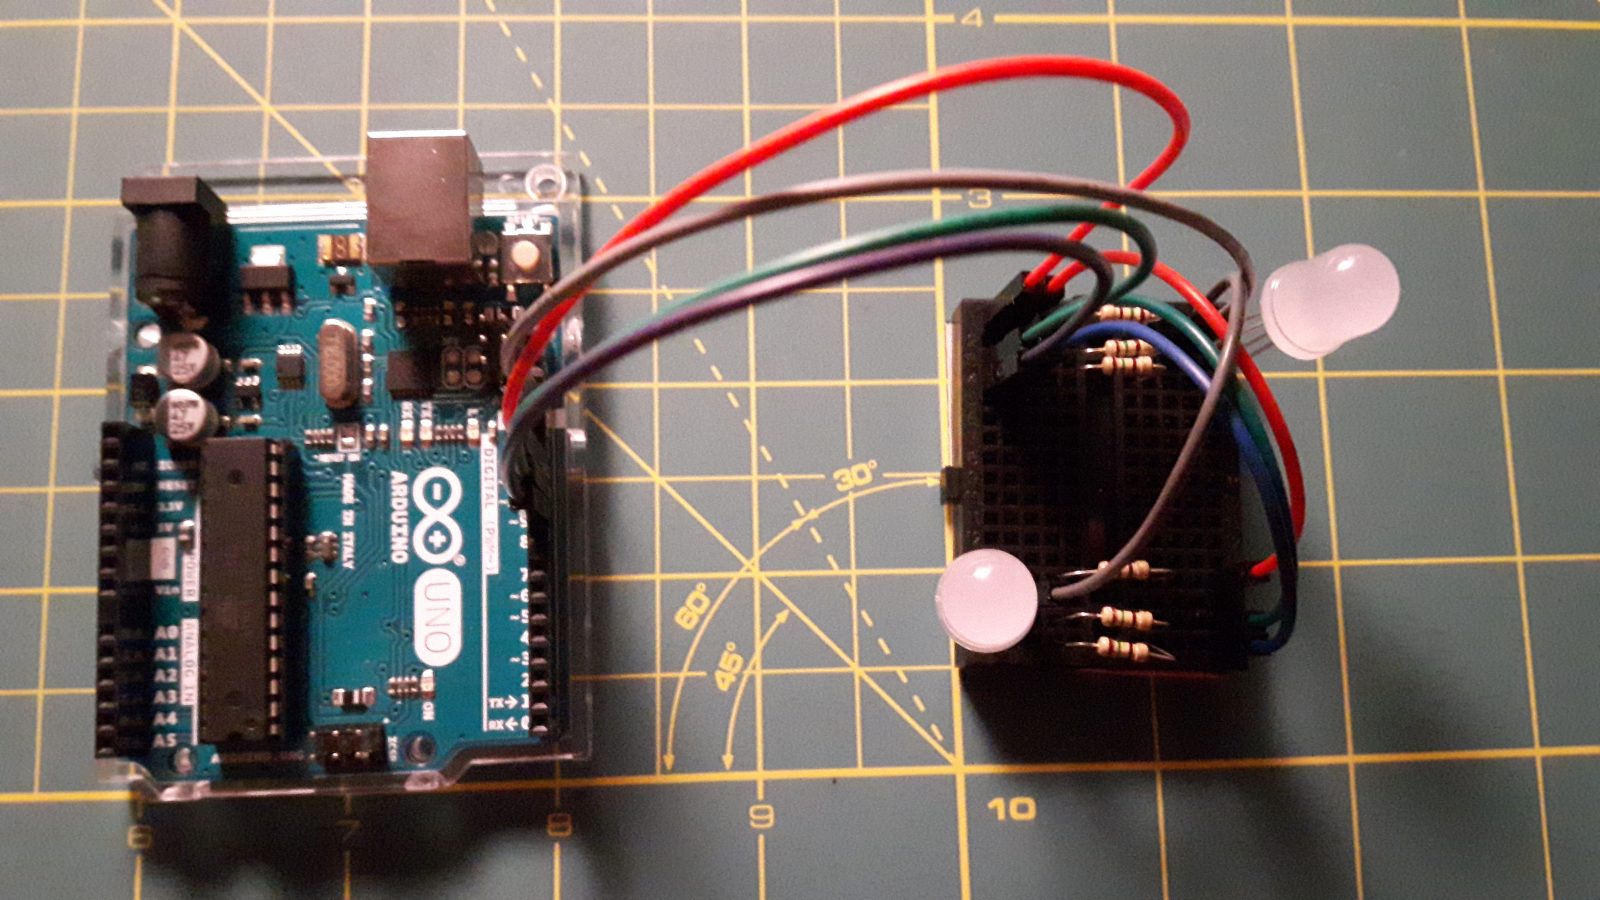
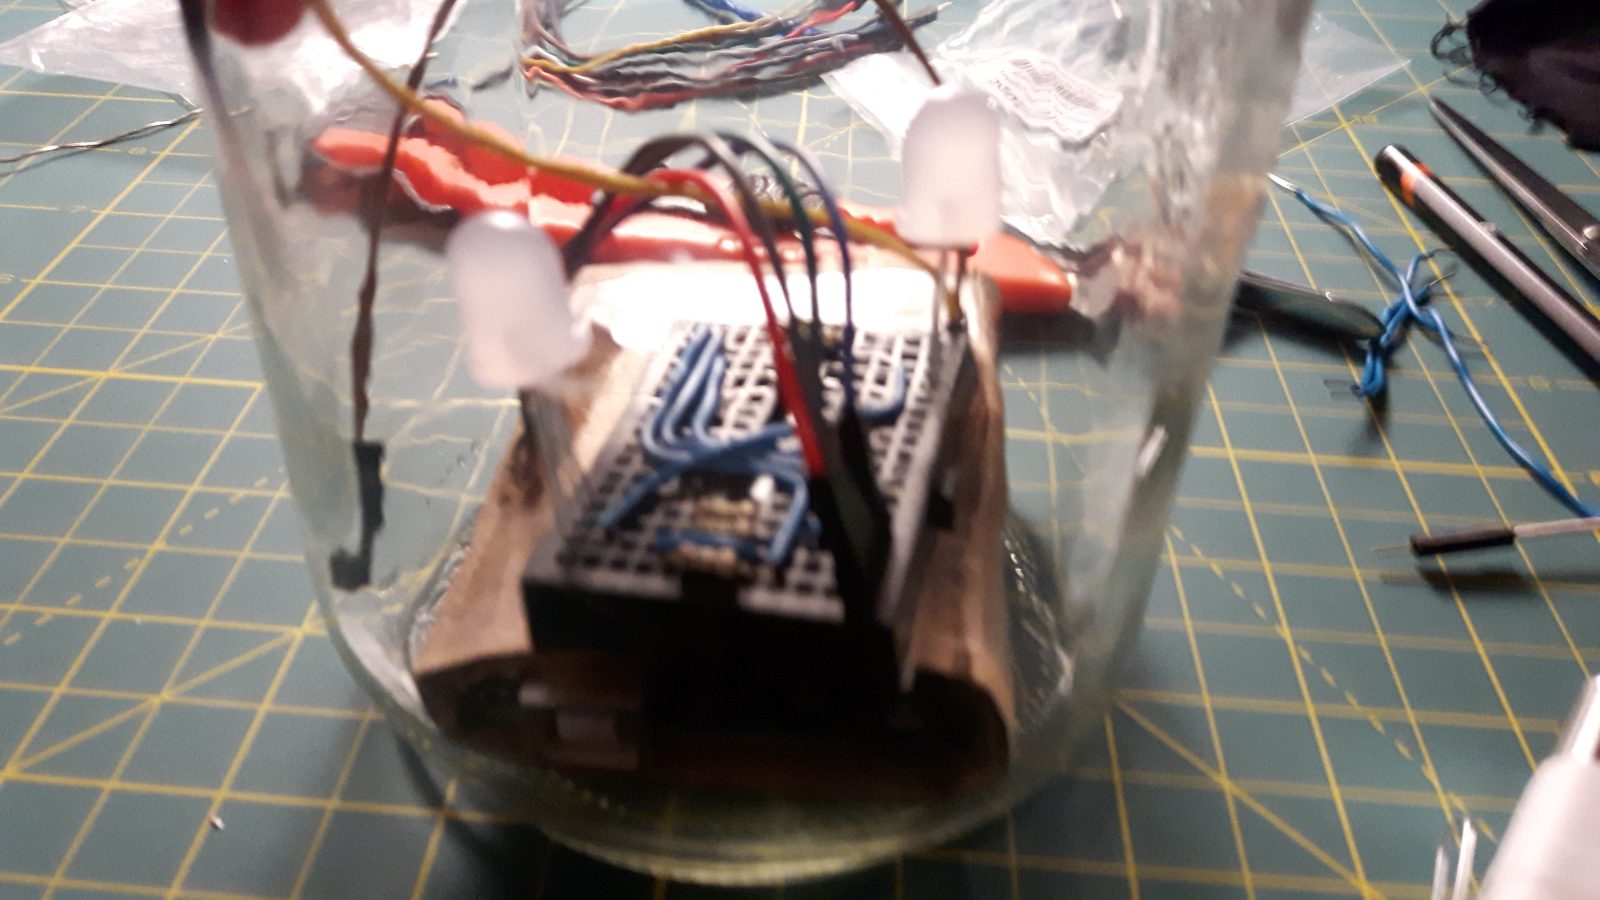

jar.
Arduino Code for LED Sequence
/*
  RESOURCES USED:
  Adafruit Arduino - Lesson 3. RGB LED: https://learn.adafruit.com/adafruit-arduino-lesson-3-rgb-leds/arduino-sketch
  Arduino Fading LED Tutorial: https://www.arduino.cc/en/Tutorial/Fade
*/

int redPin = 11;
int greenPin = 10;
int bluePin = 9;

int redBrightness = 255;  //initial red brightness of led #1
int blueBrightness = 0; //initial blue brightness of led #2
//int greenBrightness = 0;

int redFadeAmount = 3;
int blueFadeAmount = -3;
//int greenFadeAmount = 3;

void setup() {
  //configure 3 PWM arduino pins as outputs for the LEDs connected in parallel
  pinMode(redPin, OUTPUT);
  pinMode(greenPin, OUTPUT);
  pinMode(bluePin, OUTPUT);
}

void loop() {
    // set the brightness of red pin:
    analogWrite(redPin, redBrightness);
    analogWrite(bluePin, blueBrightness);

    // change the brightness for next time through the loop:
    redBrightness = redBrightness - redFadeAmount;
    blueBrightness = blueBrightness - blueFadeAmount;

    // reverse the direction of the fading at the ends of the fade:
    //since they are matched up, we only need to check red
    if (redBrightness <= 0 || redBrightness >= 255) {
     redFadeAmount = -redFadeAmount;
     blueFadeAmount = -blueFadeAmount;
     delay(3000);  //pause when reaching 100% blue or 100% red
   }

  // wait for 30 milliseconds to see the dimming effect
  delay(30);
}